August Launch at All Dressed Up

It is launch time at All Dressed Up, and we have four fantastic images for you for this months launch.

A Star Is Born

Future Little Crafter 

My Baby Shower 

Night Night little one

We also have some fantastic papers to match

The papers can be purchased here 

To see the entire All Dressed Up collection, please head on over to the Shop.

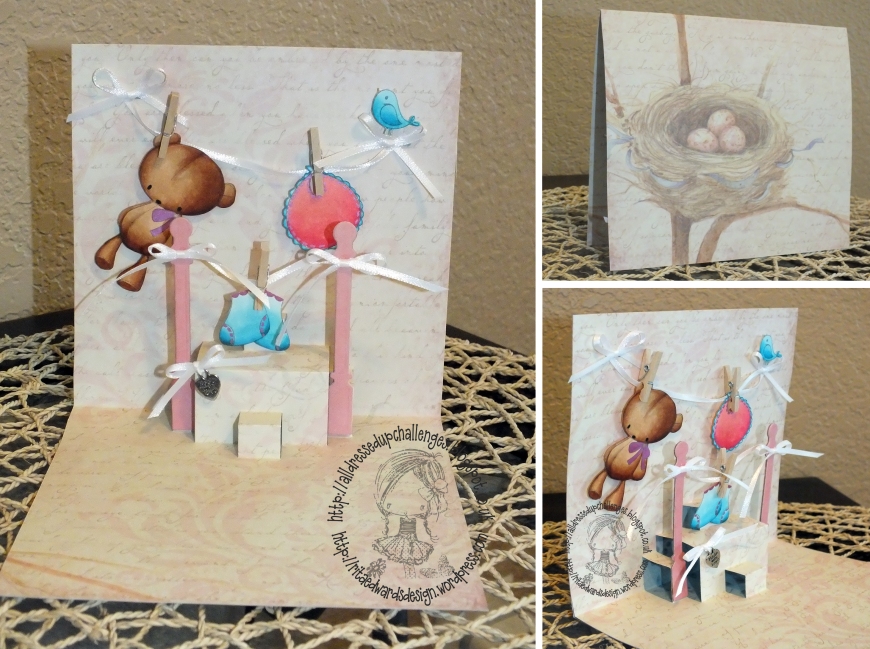
For my design team, I created a card for the launch using My Baby Shower.
EDHMC_ADU_baby2

Please remember our current Challenge  is Anything But A Square ….these images would be perfect for the challenge theme, plus you are in with a chance of winning 3 images of your choice !

Also don’t forget to stop by our Facebook Group to share your All Dressed Up creations & chat to fellow crafters.

Also keep an eye out for more inspiration from the rest of The Dressy Girls throughout the month.

I used the wonderful Lots of Pops die set designed by Karen Burniston for Elizabeth Craft Designs.

My coloring? I cannot thank Alyce, my friend and teacher, enough — wonderful classes, coloring community, support, feedback and just awesome friendships along the journey! I honestly hope that you too will hop over to Kit & Clowder Coloring Community and sign up for the fantastic classes!
Blue: BG000, BG01, BG02, BG04, BG09
Red Violate: RV63, RV66, RV69
Brown: E31, E33, E34, E35, E37
Thank you so much for stopping by my blog!
hugs, Rita

No Square with All Dressed Up

It is new challenge time at All Dressed Up, one of my most fun and totally supportive design teams ever!

Our theme for this challenge is “Anything but a Square”

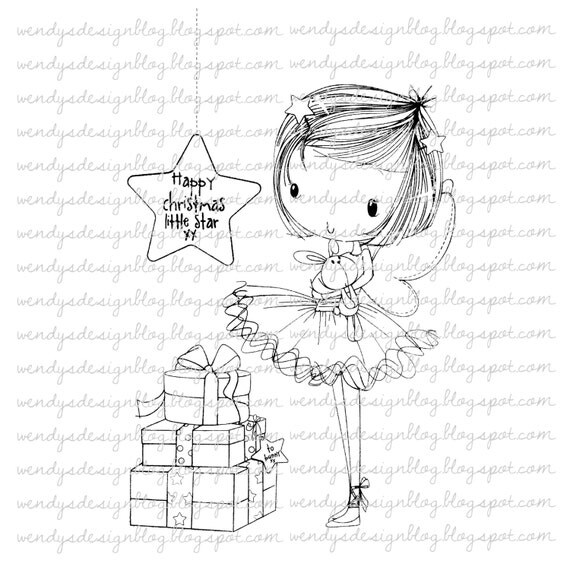
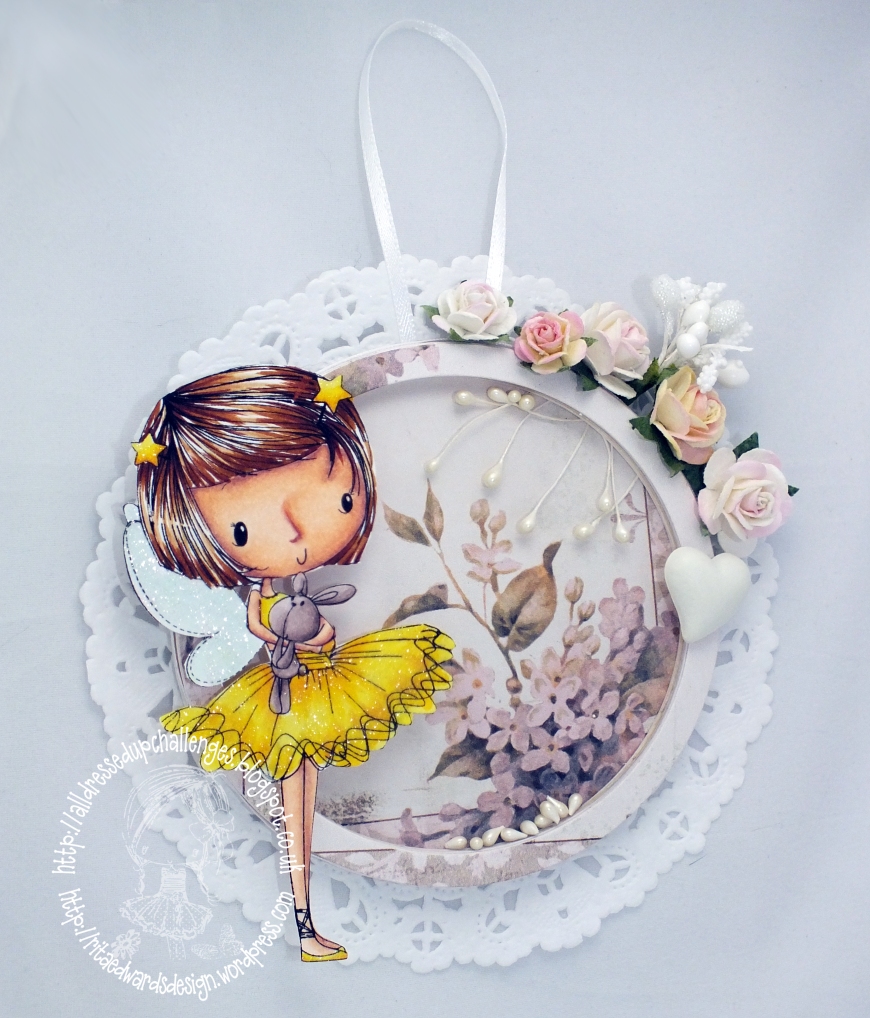
I used the absolutely sweet Happy Christmas Little Star digital image and turned it into a shaker type decoration. You can purchase her HERE.

Happy Christmas Little Star

I used my Silhouette to cut around the sweet little girl and created the project base using 2 circle die cuts.

Other supplies used today:

This challenge will run until July 15th so yes, please head on over to All Dressed up blog to check out the rest of the teams creations, and why not enter the challenge whilst you are there. **Please note**: To enter our challenges, we need you to please use an All Dressed Up Image or paper.

And please remember to stop by our Facebook Group to keep up to date with all the latest All Dressed Up news, and chat to fellow crafters.

My coloring? I cannot thank Alyce, my friend and teacher, enough — wonderful classes, coloring community, support, feedback and just awesome friendships along the journey! I honestly hope that you too will hop over to Kit & Clowder Coloring Community and sign up for the fantastic classes!
Skin: E000, E00, E11, E21, E04
Hair: E30, E31, E33, E35, E37, E29
Blue: BG000, BG01
Yellow: Y02, Y04, Y08, E11
Bunnie: E70, E71, E74
Thank you so much for stopping by my blog!
hugs, Rita
EDHMC_ADU_HCLS_7_31_14

July Elizabeth Craft Designs Designers’ Challenge

Hello there!

Today is the last day of the month, which means… yes, you guessed it right! It is our Designers’ Challenge at Elizabeth Craft Designs and we all created something with stand up helpers. And there’s a twist! Our design team was challenged to use stand up helpers in the traditional and a non-traditional way. (Please know that I’ll be listing supplies with links below.)

With all the wonderful new die sets, I tried to create just two different cards but somehow ended up with four different cards for today.

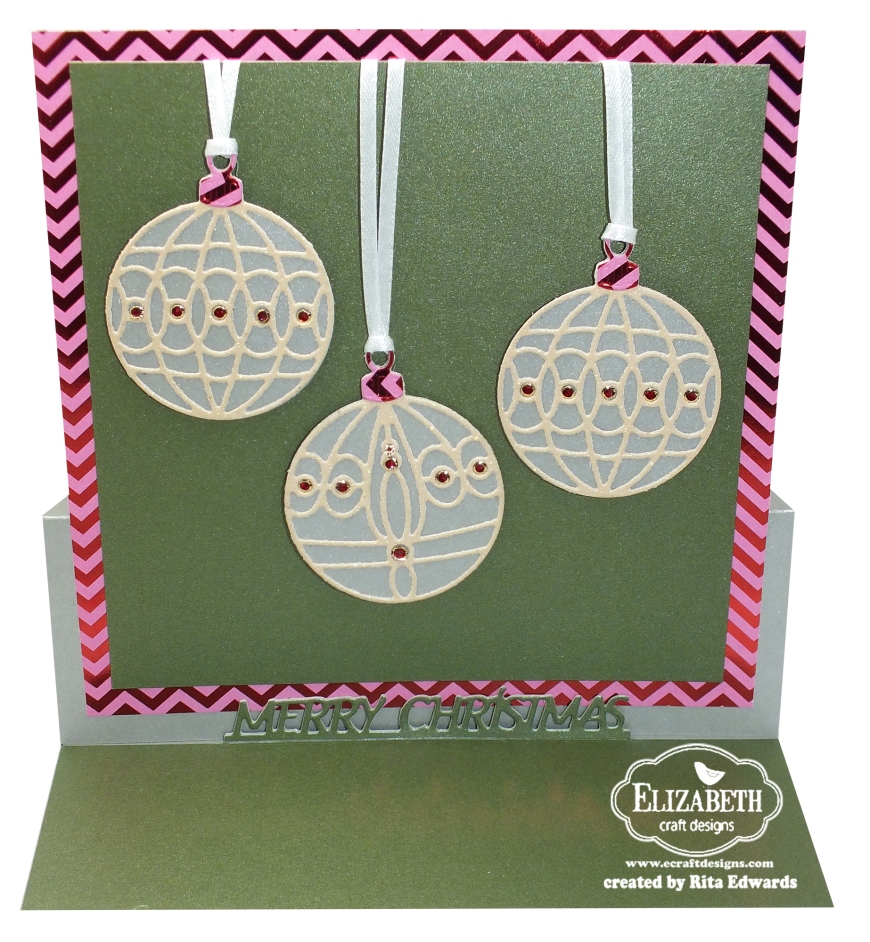
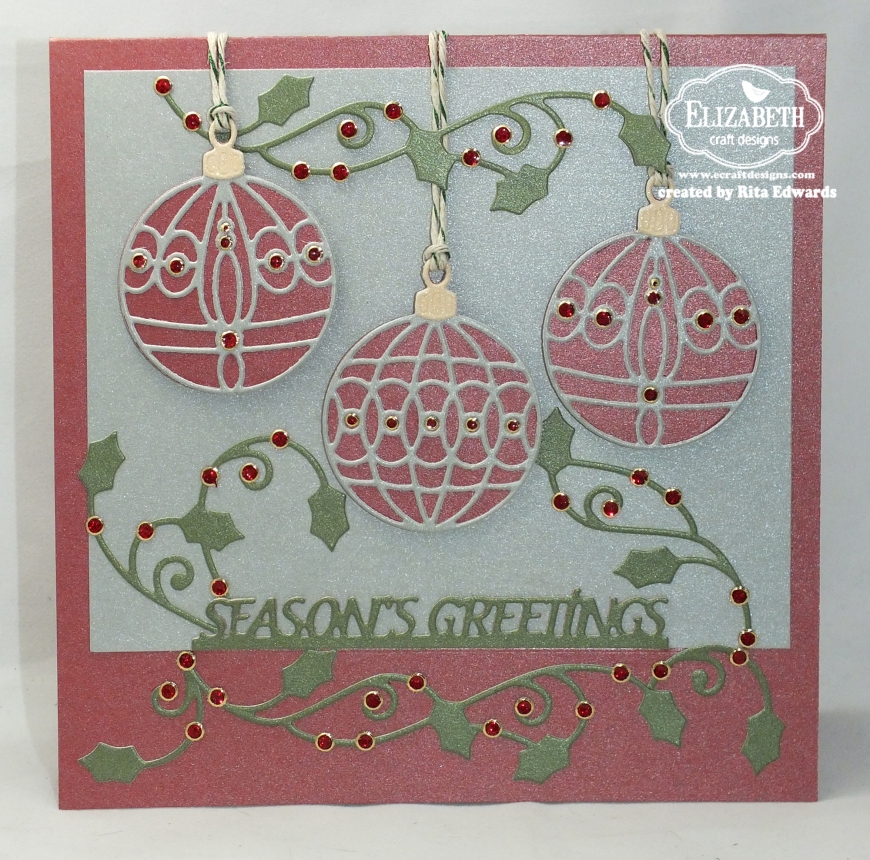
My very first card today is a clean and simple card using the new Christmas ornaments and the Merry Christmas Stand Up Helper. I think that this is a simple and fun card to create.

RE_ECD_DT2_7_31_14

My next card also uses the same ornaments as the one above but this time my Stand Up Helper is used within the front of my card. I also added the beautiful Holly Border and Holly Flourish die sets decorated with red glitter dots.

RE_ECD_DT4_7_31_14

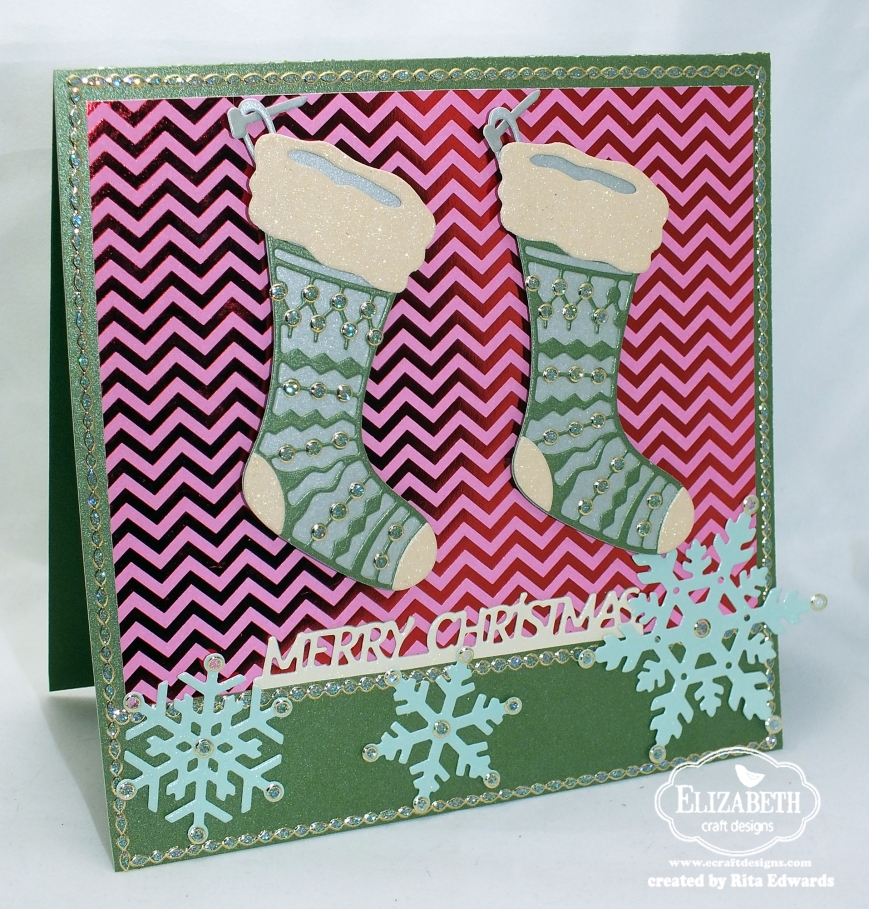
My next card is created with the wonderful Stocking Solid and Overlay sets, decorated with glitter boarders and glitter dots. I also used the snowflakes die set to add a little interest to the bottom of the card.

RE_ECD_DT1_7_31_14

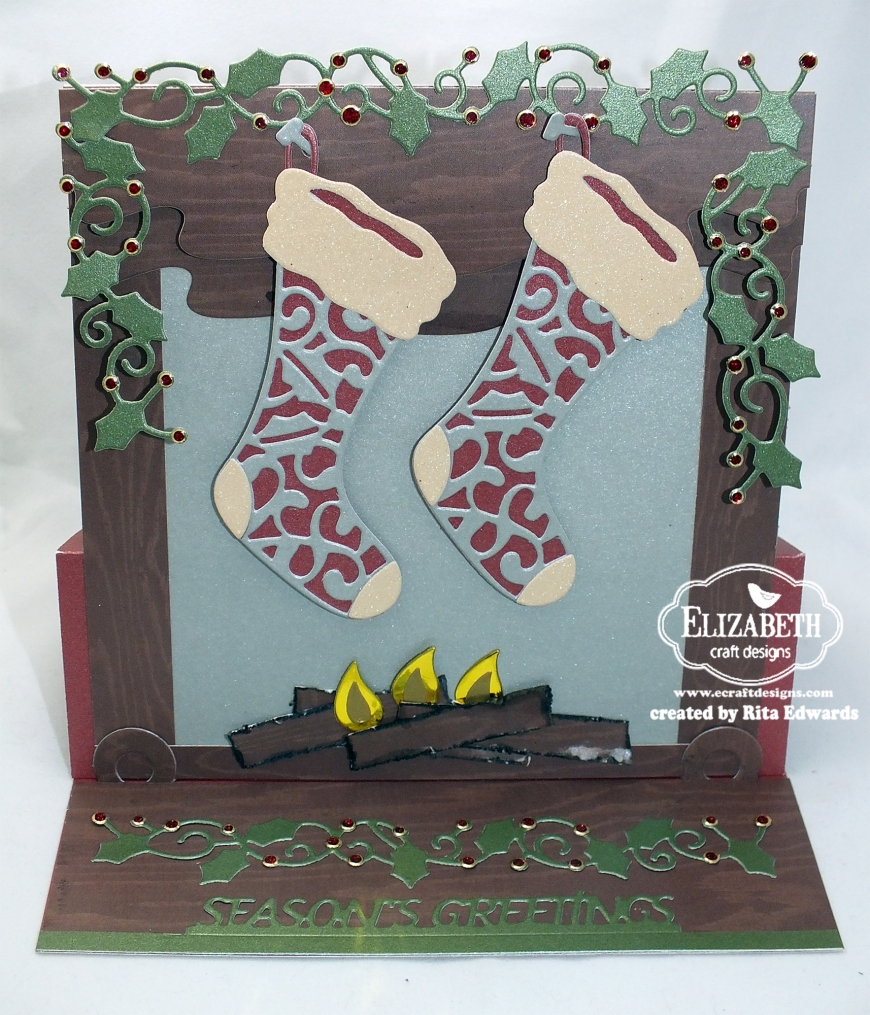
And my fourth – and favorite but don’t tell the other – card today also uses the stocking die solid and overlay sets. As before, I also used the Holly border die set with these sweet little glitter dots. Since I had stockings, I wanted to create a wooden fireplace feel with the burning fire where we can simply sit back, enjoy our loved ones company, sip some hot coco and just chat away the afternoon while it’s snowing outside.

RE_ECD_DT3_7_31_14

I would like to thank you for stopping by my blog today and hope that you enjoyed these different cards today.
Hugs, Rita

Elizabeth Craft Designs Supplies Used Today:
– (940) Season’s Greetings Stand Up Helper
– (939) Merry Christmas Stand Up Helper
– (932) Stocking Solid die set
– (931) Stocking Overlay die set
– (927) Ornament Set 3 die set
– (925) Holly Boarder die
– (921) Holly Flourish die
– (919) Candle die set
– (930) Stand Up Helper Set 2
– (757) Snowflakes die set
– (sku 7010) Glitter Boarder
– (sku 7018) Glitter Dots
– (782) Agatha Edge die set

My Favorite All Dressed Up Image

edhmc_ADU_FINAL

It is new challenge time at All Dressed Up, one of my most fun and totally supportive design teams ever!

Our theme for this challenge is “Your Favorite All Dressed Up Image”

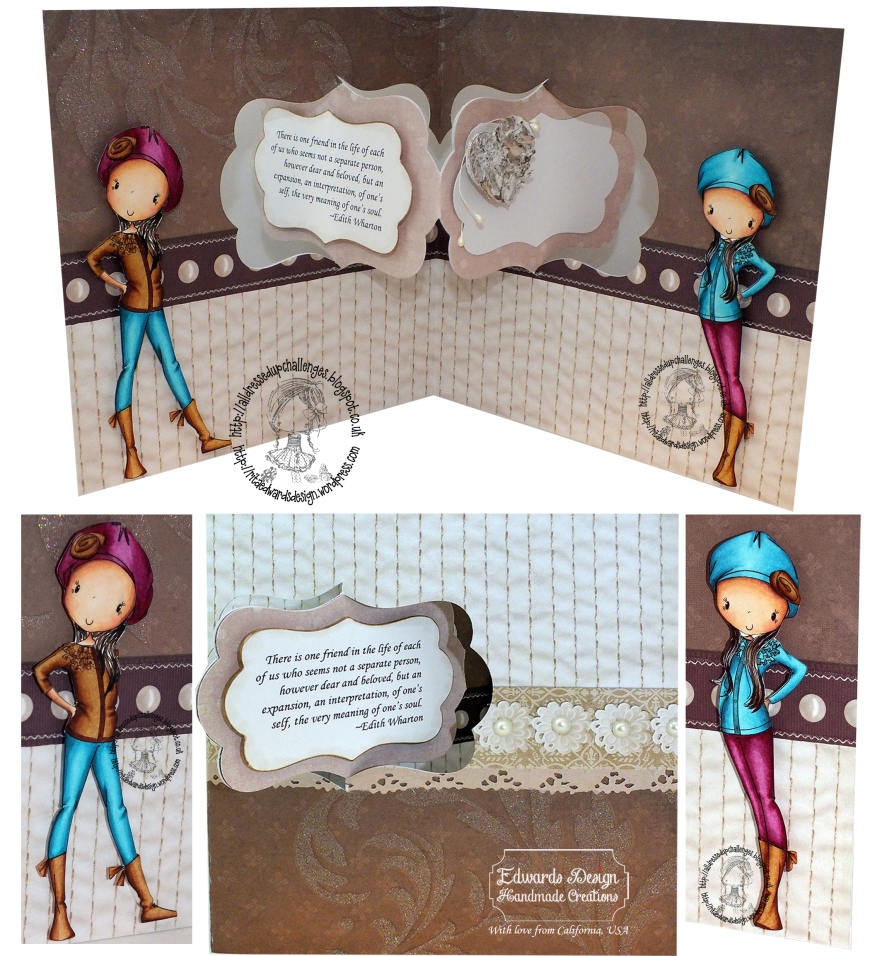
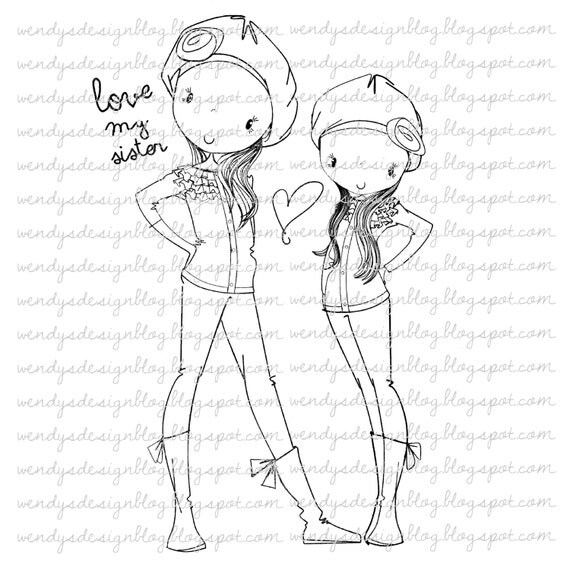
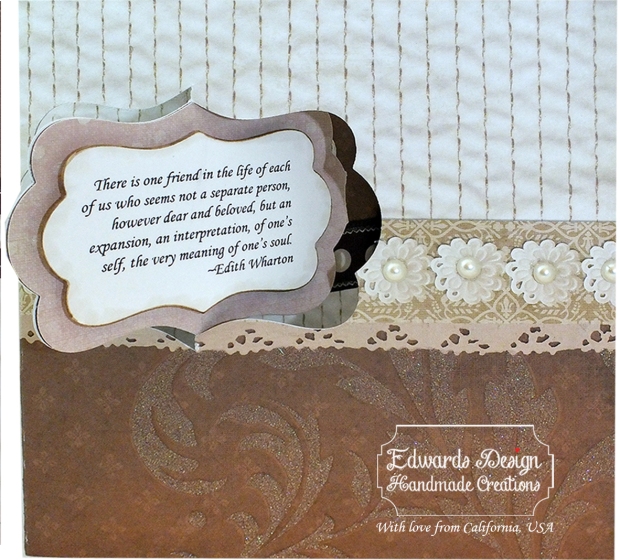
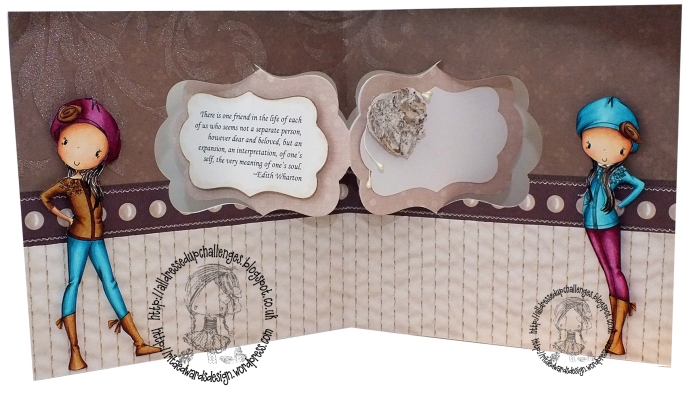
I used the absolutely sweet Love My Sister digital image and turned it into a Best Friends card with a quote I truly love.

Love My Sister

edhmc_ADU_front

DSCF3620_2

I used my Silhouette to cut around the girls and created the card base using the fantastic Katie Label Pivot Card die set, designed by Karen Burniston for Elizabeth Craft Designs. My paper is DCWV The Lace & Linen Stack.

This challenge will run until July 15th so yes, please head on over to All Dressed up blog to check out the rest of the teams creations, and why not enter the challenge whilst you are there. **Please note**: To enter our challenges, we need you to please use an All Dressed Up Image or paper.

And please remember to stop by our Facebook Group to keep up to date with all the latest All Dressed Up news, and chat to fellow crafters.

My coloring? I cannot thank Alyce, my friend and teacher, enough — wonderful classes, coloring community, support, feedback and just awesome friendships along the journey! I honestly hope that you too will hop over to Kit & Clowder Coloring Community and sign up for the fantastic classes!
Skin: E000, E00, E11, E21, E04
Hair: E40, E42, E44, E74, E47, E49
Blue: BG000, BG01, BG02, BG04, BG09
Red -Violate: RV63, RV66, RV69
Brown: E31, E33, E34, E35, E37
Thank you so much for stopping by my blog!
hugs, Rita
These are all the challenges I join from time to time and entering this project in some of them (not all):
– Stampin for the Weekend Challenge Anything Goes
– 7 Kids College Funds Challenge #103 Anything Goes
– Cute Cards Challenge #328 Reach for the Stars
– 613 Avenue Create Challenge# 78 Anything Goes
– Chocolate, Coffee and Cards Challenge #68 Summer Days

Stand Up Butterfly Card — Elizabeth Craft Designs

EDHMC_ECD_6_23_14

Good morning, friends!

Every year we make plans to take a trip to Pacific Grove in California to see the Monarch butterflies. Finally this year we saw them – what a magnificent wonders they are! So today when I was thinking back on our trip I knew right away what I wanted to include in my Elizabeth Craft Designs DT card, butterflies!!

To create my Elizabeth Craft Designs card:

1. Take out your Daisy Frame Peel-off stickers, a sheet of transparent Double Sided Adhesive and a clear sheet of acetate.

2. Peel off the release sheet from the Double Sided Adhesive Sheet and adhere the adhesive side to the clear acetate sheet. Peel off the other release sheet and set aside.

3. Place a large daisy and a daisy circle frame facing down (sticky side up) onto the release sheet and place the Double Sided Adhesive Sheet on top.

DSCF3436_2

4. Cover the adhesive with Vintage Pink Silk Microfine Glitter, rub the surface with your finger and brush off the extra glitter.

DSCF3439_2

5. Fussy cut around the two Peel-off stickers and use the remaining material to cut out “Thinking about You”.

6. Cut card base 6″ wide x 12″ high, score at 1.5″ and also at 6″ and fold. Cut 2 additional pieces 6″ wide x 6″high.

DSCF3443_2

7. Keep the two 6″ x 6″ pieces together and die cut the middle with a circle die.

DSCF3445_2

8. Cut clear acetate 6″ wide by 4″ high and adhere this piece in between the two 6″ x 6″ card stock pieces.

9. Adhere this layered 6″ x 6″ card stock to the 1.5″ high x 6″ slightly folded bottom portion of your card base. This will be the focal point of the card.

10. Cut one more 6″ wide by 6″ high card stock and die cut with the Stand Up Helper die. There are several (6) dies in the set, I chose the Flower Stand Up Helper. To guide better, keep a 6″ wide by 1.5 paper strip handy at the bottom and die cut two stand up helper portions.

DSCF3449_2

11. Adhere the large daisy and the daisy frame onto the front of the card around the circle. Since the inside of our card has the same pattern as the front of the card, it is almost impossible to tell that there’s a layer of acetate sheet in between the front and back layer. Add glossy accents in the middle of each flower.

DSCF3451_2

12. Die cut butterflies from Purple Iridescent Shimmer Sheetz.

DSCF3457_2

13. Adhere the sentiment and the butterflies to the front of the card. Now your project is complete! DSCF3230_2

DSCF3458_2

When we stand the card up, our center daisy is “floating” surrounded by all the gorgeous butterflies.

I hope you enjoyed today’s tutorial as much as I enjoyed creating this card. I absolutely love how the Stand Up Helpers made this card so unique and the butterflies are just gorgeous. I hope you are inspired to try this technique yourself!

hugs, Rita

Supplies by Elizabeth Craft Designs:
– (792) Stand Up Helpers die set
– (713) Small Butterfly die set
– (789) Thinking of You die set
– (SKU 1130) Daisy Frame Peel-Off Sticker
– (501) 5″ x 12″ Double Sided Adhesive Sheets
– (617) Vintage Pink Silk Microfine Glitter
– (SS 0106) Purple Iridescent Shimmer Sheetz

Other Supplies:
– Paper Studio Blanc Boutique paper pack
– Clear Acetate

DSCF3485_2 DSCF3488_2 DSCF3486_2

All Dressed Up June images with Lighthouse

It is inspiration time at All Dressed Up, and we have four fantastic images for you for this months.

3 Little Summer Girls

Best Teacher Ever

Cheeky Monkey

Prom Princess

How wonderful, right? To purchase any of the images please head on over to the Shop.

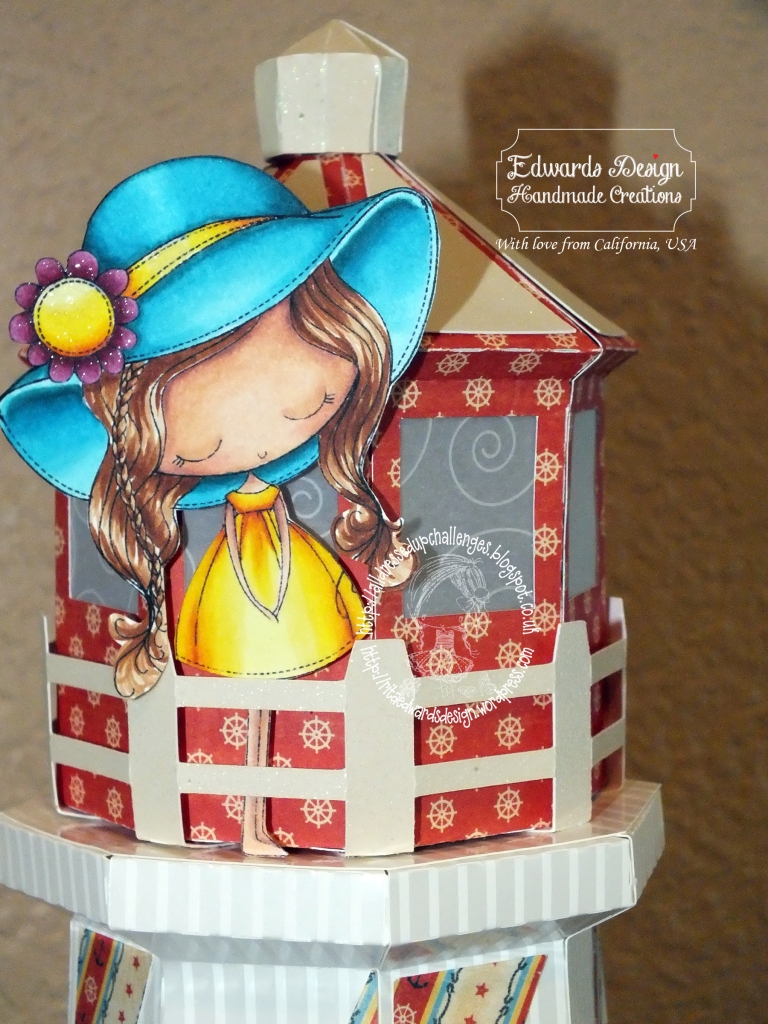
For my design team project I have used Three Little Summer Girls — they’re just so sweet! Since we love visiting lighthouses and always play in the sand by Carmel, these sweet little images were perfect for us! And yes, the happy little owner is my sweet Bell who is over the moon that Mom made her the “best lighthouse ever” with her on top — awe, way to melt my heart!

Ever since I saw Graphic 45 gorgeous By the Sea collection and then SVG Cuts released their new Seaside design, I knew what I was going to make: LIGHTHOUSE! The gorgeous lighthouse is by SVG Cuts: Seaside SVG Kits and I used my new favorite cardstock Graphic 45 By The Sea Pad, 12 by 12-Inch

And just for giggles, I added up all the elements for the lighthouse: 95 independent cut pieces. The little “By the Sea” piece is from Graphic 45 By The Sea Tags and Pockets. Plus the 3 little girls, the rope and the “By the Sea” sign make the overall number: 100 pieces!

Do you ever create something you are so extremely happy and proud of? Oh, I think I just did!

EDHMC_ADU_Little_Summer_Girls_SVG_6_4_14_ALL EDHMC_ADU_Little_Summer_Girls_SVG_6_4_14 DSCF3020)2 DSCF3007_2
Don’t forget our current challenge theme is Ribbon and these images would be perfect for the challenge theme, plus you are in with a chance of winning 3 images of your choice !

Please remember to stop by our Facebook Group to share your All Dressed Up creations & chat to fellow crafters.

Also keep an eye out for more inspiration from the rest of The Dressy Girls throughout the month.

Skin: E000, E00, E11, E21, E04
Hair: E40, E42, E44, E74, E47, E49 and E11, E13, E18
Blue: BG000, BG01, BG02, BG04, BG09
Pink: RV63, RV66, RV69
Yellow: Y00, Y02, Y04, Y08, E11, E13

My coloring? I cannot thank Alyce, my friend and teacher enough — wonderful classes, coloring community, support, feedback and just awesome friendships along the journey! I honestly hope that you too will hop over to Kit & Clowder Coloring Community and sign up for the fantastic classes!

Thank you for stopping by! Hugs, Rita

The challenges I’m entering this project in:
– The Squirrel and the Fox Challenge #72 Use something Metal
– Through the Craft Room Door Challenge
– Divas By Design Challenge 3 or more layers
– 7 Kids College Funds Challenge #102 Anything Goes
– Cute Cards Challenge #326 – Beside the Seaside!
– 613 Avenue Create Challenge# 76 Anything Goes
– Crafty Sentiments Challenge CAS of Full on

Surprise birthday blog hop and challenge for Wendy

EDHMC_ADU_Wendy_Bday

Hi Dressies,

Welcome to our surprise birthday blog hop and challenge. Today is the very talented Wendy’s birthday, for those who don’t know Wendy is the owner and artist behind All Dressed Up. All the team would like to wish Wendy a very happy birthday and thank her for her amazing images, and for everything she does. Happy birthday, Wendy!

We normally have our new challenge on the 15th, but as today is Wendy’s birthday we wanted to do a surprise birthday blog hop, along with our challenge.

First of all, the challenge theme is Anything goes as long as it features one of our images or digital papers.

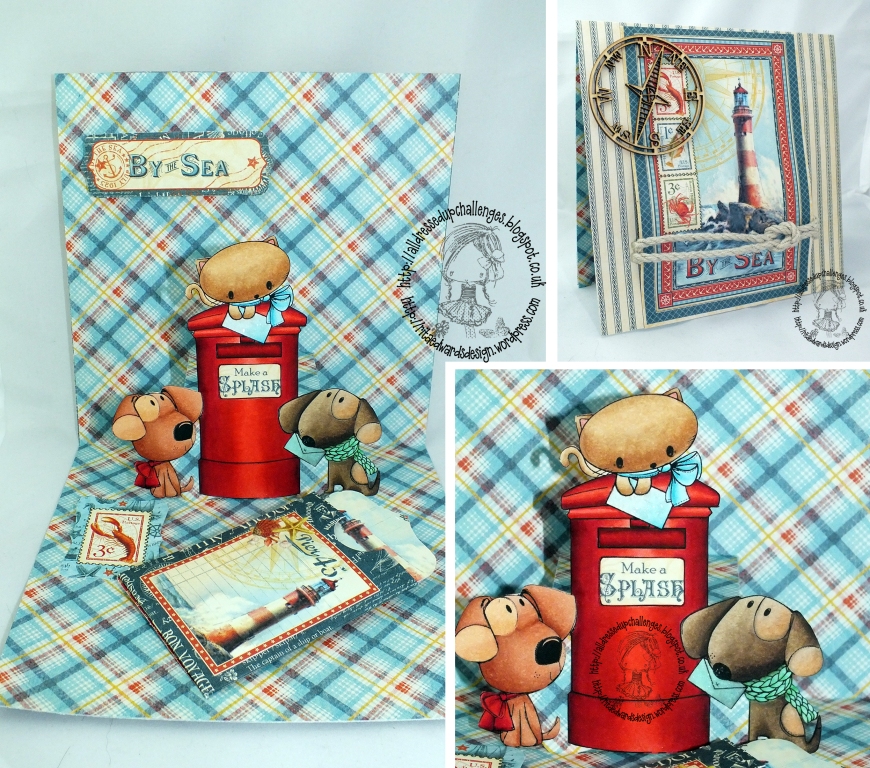
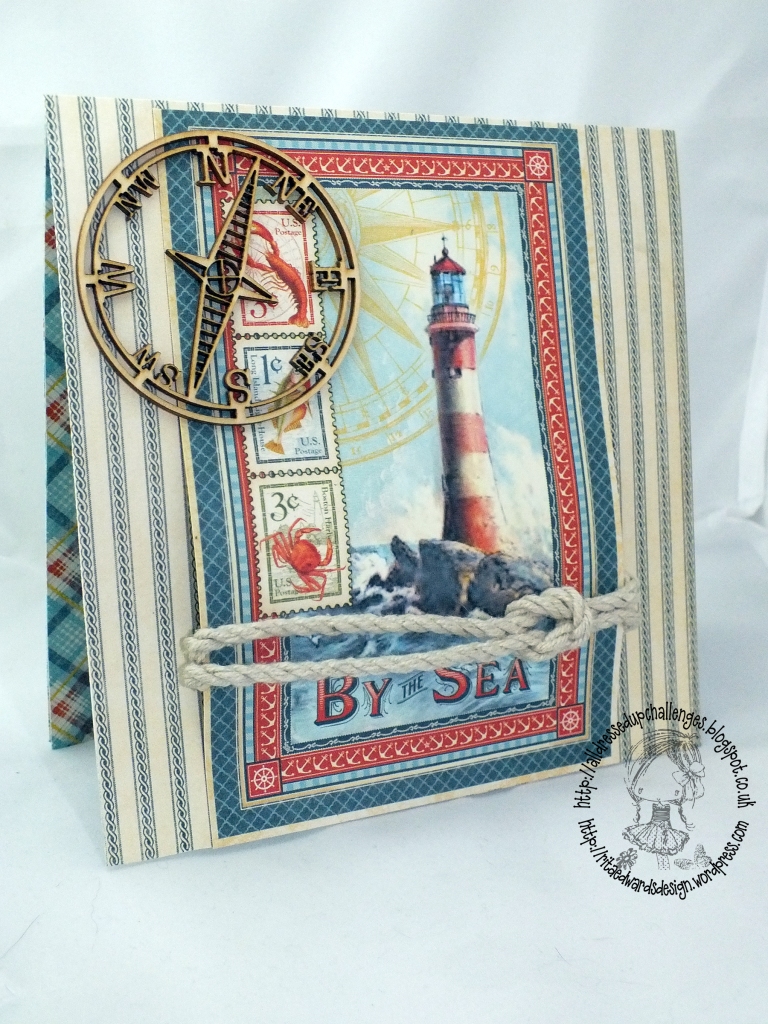
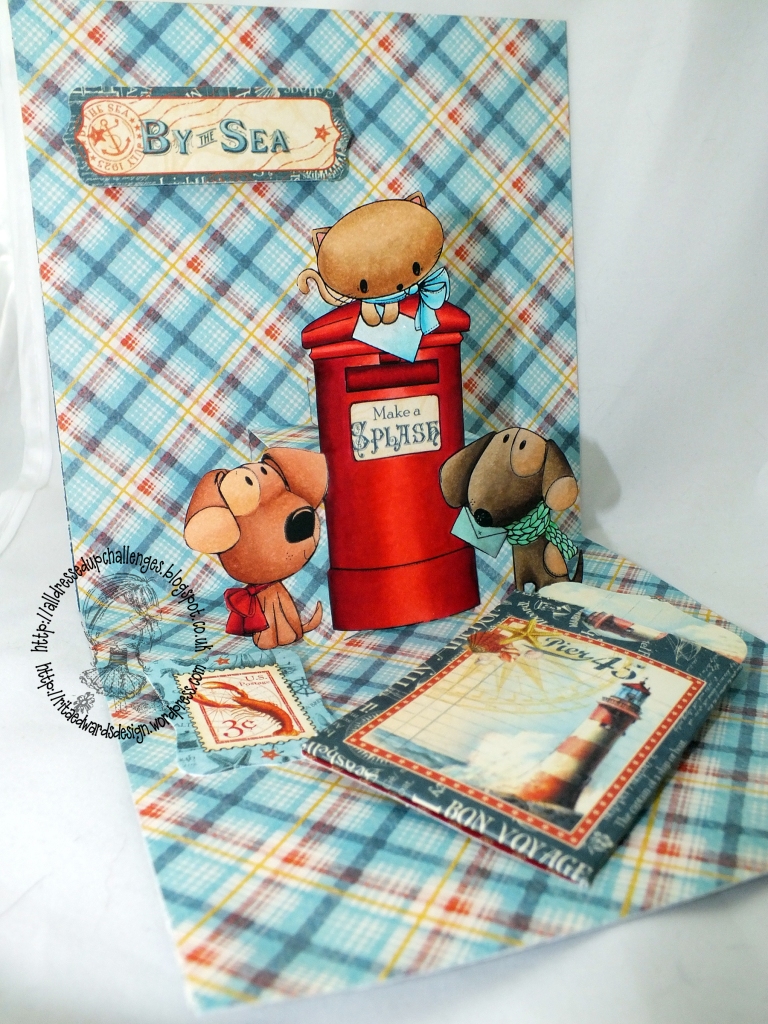
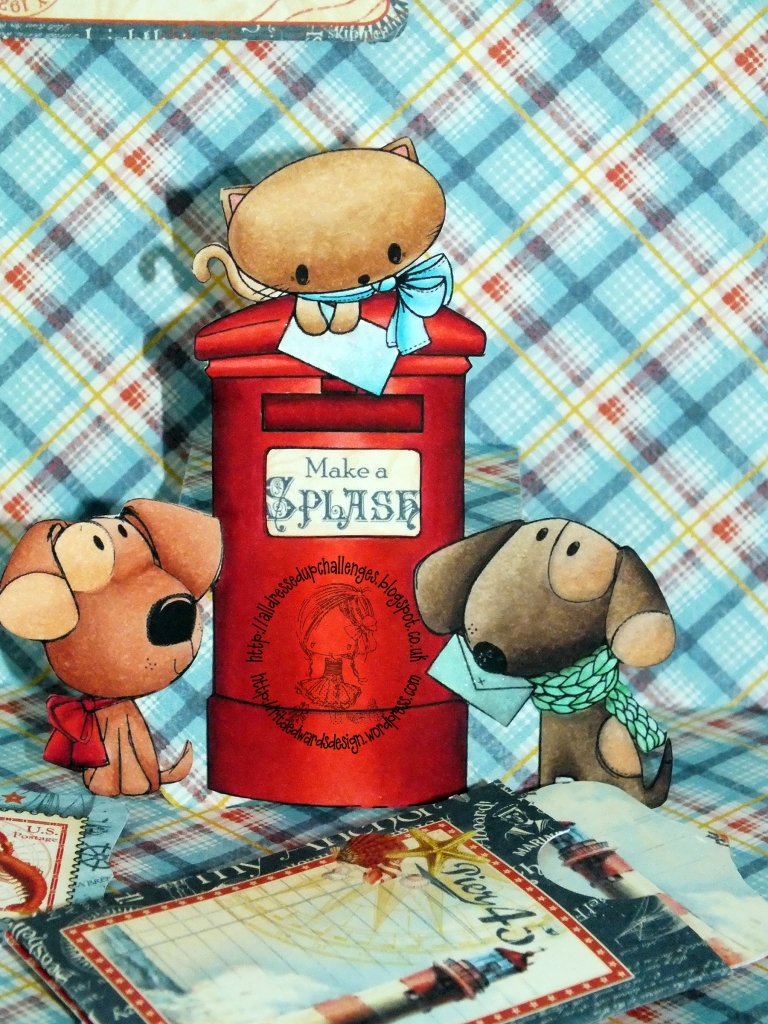
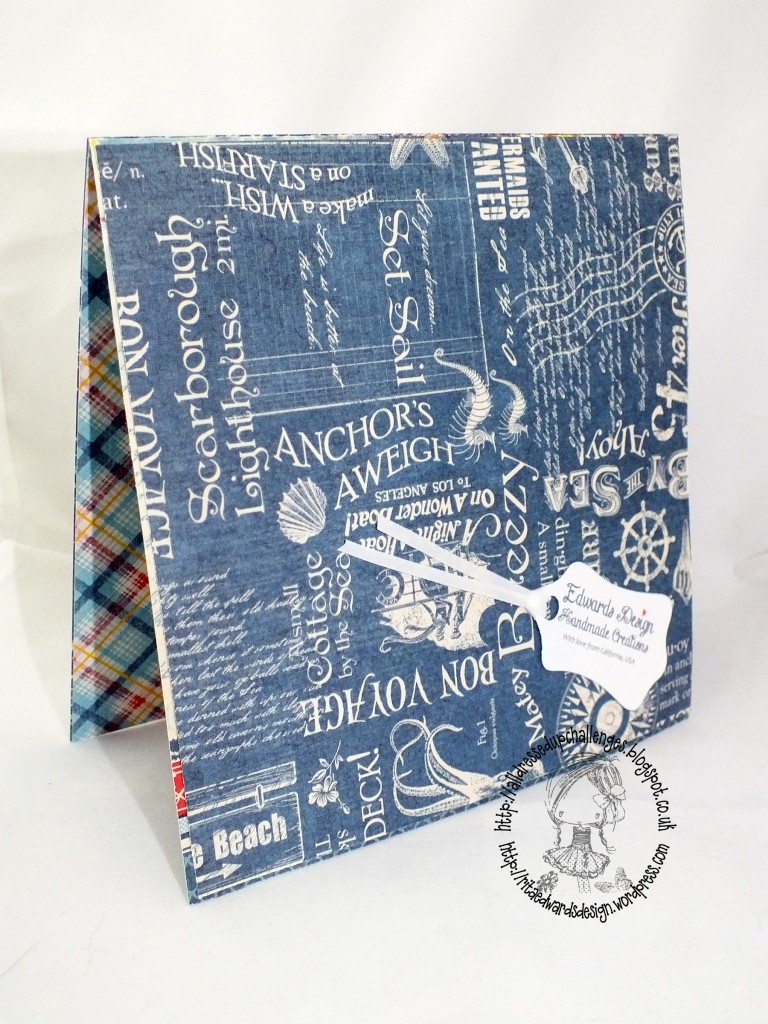
I’ve created a nautical card for Wendy combining two All Dressed Up images: Christmas Post and Cute Just Got Cuter, which is one of the wonderful freebie images. I took away the little snowflakes and writings so the fun mailbox can show the journey of my card all the way from California, USA to the UK!

I also used some of my absolute favorite elements with this card:
Lucy Label Pop Up die set designed by Karen Burniston for Elizabeth Craft Designs
– Graphic 45 By The Sea Pad, 12 by 12-Inch
– Graphic 45 By The Sea Tags and Pockets

DSCF3162_2 DSCF3168_2 DSCF3180_2 DSCF3163_2

This is such an easy theme and we cannot wait to see all your fantastic entries, the winner will receive 3 images of their choice from the Store

And now about the blog hop: below is a list of the dressy girls for you to hop around….we have a very big team here so you have until  1st July midnight GMT to hop round them all.

At the end of the hop two random Dressy Girls will pick someone who has visited and commented on their hop card to receive 2 images of their choice from the Store

Happy hopping!

All Dressed Up Blog

Marilyn

Anne

Nancy

Lyndsey

Viv

Keeley

Mandz

Rita (me)

Kat

Bettina

Stacey

Maritha

Tracy

Joey

Sarah

Holly

Deb

The winners of the hop and challenge will be announced on 3rd July here on the blog.

** Please remember that any entry not using an All Dressed Up image or paper will be removed from the challenge **

The challenge and hop run until Midnight GMT 1st July

We cannot wait to see all your creations, please also stop by our Facebook Group and share them there too.

Plus a little something that’s so huge in my life: my coloring! I cannot thank Alyce, my friend and teacher enough! And I honestly hope that you too hop over to Kit & Clowder Coloring Community and sign up for the fantastic classes!

My Copic colors:
Cat: E21, E23, E29
Dog on left: E11, E13, E15, E18
Dog on right: E40, E42, E43, E44, E47, E49
Mailbox: R22, R24, R27, R46, R59, R89

hugs, Rita


These are all the challenges I join from time to time and entering this project in some of them (not all):
– Marker Pop Challenge #45 Anything
– The Squirrel and the Fox Challenge #72 Use something Metal
– Stampin for the Weekend Challenge Anything Goes
– Through the Craft Room Door Challenge
– Glitter n Sparkle Challenge #89 Father / Male
– Alphabet Challenge I for Inspiration
– Divas By Design Challenge Red, white and blue
– 7 Kids College Funds Challenge #102 Anything Goes
– Cute Cards Challenge #325 So Macho
– 613 Avenue Create Challenge# 76 Anything Goes
– Chocolate, Coffee and Cards Challenge #67 B&W +1
– Crafting When We Can Challenge #71 Left over
– Ruby’s Rainbow Challenge #81 Flora and Fauna
– Card Making Mamas Challenge #87 Over the Rainbow
– Totally Papercrafts Challenge
– Sweet Stampin’ Challenge Baby
– Crafty Sentiments Challenge CAS of Full on

My Little Stained Glass Windows — Elizabeth Craft Designs

Hello there, friends!

Today I would like to share my new Elizabeth Craft Designs DT creation that reminds me of old stained glass windows, something I’ve been fascinated by as long as I can remember. When I received the new Elizabeth Craft Designs Butterfly Labels 1 Peel-offs, I knew immediately what I was going to make next: stained glass windows! Well, almost stained and almost windows and lots of fun! This is how we can create one together:

1. Take out your Butterfly Labels 1 Peel-offs, a sheet of transparent Double Sided Adhesive and a clear sheet of acetate.

2. Peel off the release sheet from the Double Sided Adhesive Sheet and adhere the adhesive side to the clear acetate sheet. Peel off the other release sheet and set aside.

3. Place three Butterfly Label Peel-offs facing down (sticky side up) onto the release sheet and place the Double Sided Adhesive Sheet on top.

DSCF3185_2

4. Cover the adhesive with Warm Diamond Silk Microfine Glitter, rub the surface with your finger and brush off the extra glitter.

DSCF3190_2

5. Fussy cut around each peel-off and use the remaining material to cut out a small butterfly, “Thank You” note and some small flowers.

6. Use your Copic or other alcohol markers to color the surfaces.

DSCF3215_2

7. Add Glossy Accents to the areas you would like to bring out further and let it dry overnight.

DSCF3218_2 DSCF3219_2

8. Cut four accordion pages using the Accordion Fancy Label die from clear acetate.

9. Also cut four pages from the blue patterned paper and cut out the center of all four. You will now have just four frames which will function as edges.

DSCF3224_2

10. Assemble the accordion card with all the elements.

DSCF3230_2DSCF3231_2DSCF3230_2DSCF3230_2

I hope you enjoyed today’s tutorial as much as I enjoyed creating this card. And I especially hope that you try this technique yourself too.

hugs, Rita

Supplies by Karen Burniston for Elizabeth Craft Designs:
– (771) Accordion Fancy Label die set

Supplies by Elizabeth Craft Designs:
– (728) Bunch of Flowers die set
– (713) Small Butterfly die set
– (788) Thank You die set
– (SKU 2569) Butterfly Labels 1 Peel-Off Sticker
– (501) 5″ x 12″ Double Sided Adhesive Sheets
– (639) Warm Diamond Silk Microfine Glitter

Other Supplies:
– DCWV Violet Leaf cardstock
– Clear Acetate
– Copic Markers

Did you say bling? — My fun with All Dressed Up

It is new challenge time at All Dressed Up, one of my most fun and totally supportive design teams ever!

Our theme for this challenge is “Use Some BLING”

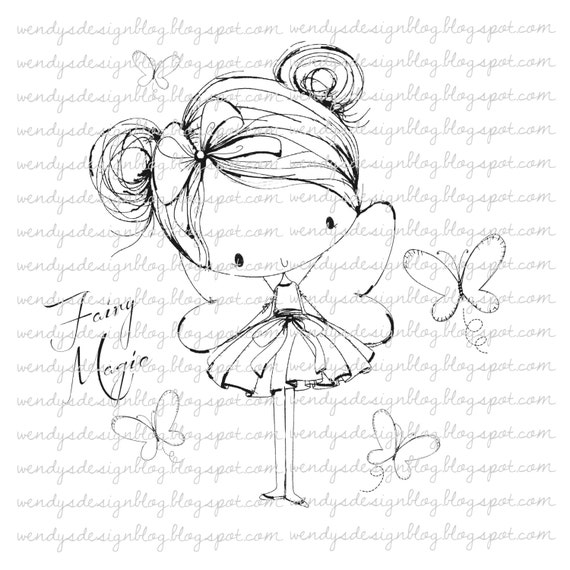
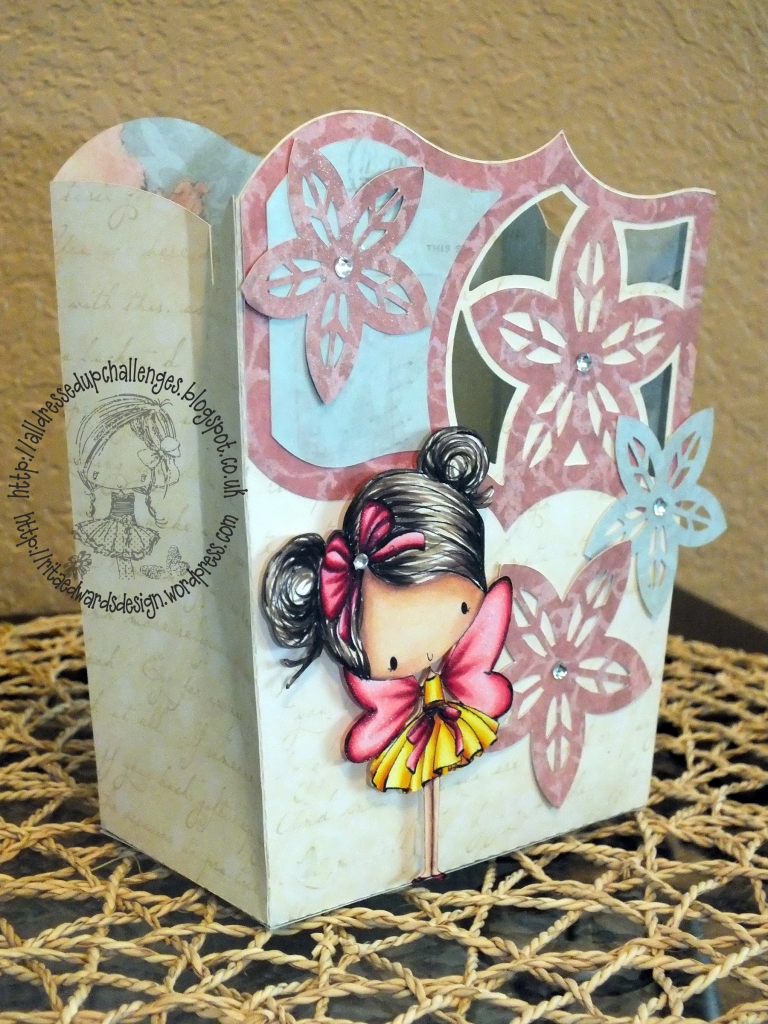
And yes, here is my little Fairy Magic with some bling for this challenge!

Fairy Magic

DSCF3035_2

The awesome cut file is by SVG Cuts, called Picnic In The Park and it’s absolutely fun!

This challenge will run until June 15th so yes, please head on over to All Dressed up blog to check out the rest of the teams creations, and why not enter the challenge whilst you are there. **Please note**: To enter our challenges, we need you to please use an All Dressed Up Image or paper.

Copic Markers:
Skin: E000, E00, E11, E21, E04
Hair: E40, E42, E44, E74, E47, E49
Pink: RV63, RV66, RV69
Yellow: Y00, Y02, Y04, Y08, E11, E13

And please remember to stop by our Facebook Group to keep up to date with all the latest All Dressed Up news, and chat to fellow crafters.

Little something that’s so huge in my life, about my coloring: I cannot thank Alyce, my friend and teacher enough! And I honestly hope that you too hop over to Kit & Clowder Coloring Community and sign up for the fantastic classes!

hugs, Rita

Meet Mr. Cat! — All the fun with Elizabeth Craft Designs

Hello there, friends!

I would like to share my Elizabeth Craft Designs Design Team card today: Hello Mr. Cat!

It’s been a fantastic week here since my best friend Monika came to visit and of course, between some morning coffee, visit to Carmel and afternoon wine tasting, crafting was part of our fun together. She asked me to make a cat card so we picked the peel-off sicker together, the paper, the die sets and then she sat and admired everything I was doing — so very sweet! So let’s see what we created together.

1. Cut a 6″ high by 12″ wide piece of craft paper for base. Also, cut a 5″ high by 12″ wide blue card stock paper and adhere it to the base.

2. Score at half of the width, at 6″ mark and fold.

DSCF2965_2

3. Place the House Pivot Card die over the score mark and make the die cut. This is the first time I’m using the die set myself!

4. Cut 2 pieces of 2″ high by 6″ wide green cardstock if you have a 6″ x 6″ pad (like me) or one 2″ high by 12″ wide and score at 6″.

DSCF2966_2

5. Use your grass shaped Stand Up Helper die to die cut the top of the green cardstock.

DSCF2967_2

6. Use a craft blade to cut the connection points between each grass bunch and adhere the green cardstock to the lower portion of our card base. Set base aside.

DSCF2968_2

7. Die cut the little flowers from the All Seasons Tree die set.

DSCF2970_2

8. Take out your Cats in Frame Peel-Off stickers, Transparent Double Sided Adhesive Sheet and white cardstock.

9. Peel off the release sheet from the Double Sided Adhesive Sheet and adhere the adhesive side to the white cardstock. Peel off the other release sheet and set it to the side.

10. Place one of the cats, a bowl and a mouse from the Cats in Frame Peel-Off stickers facing down (sticky side up) onto the release sheet and place the Double Sided Adhesive Sheet on top.

11. Add Warm Diamond Silk Microfine Glitter over the Double Sided Adhesive Sheet, brush off the extra glitter and rub the surface with your finger.

12. Use your Copic or other alcohol markers to color the surface.

13. Fussy cut around each object and complete the die cuts with the House Pivot Card and All Seasons Tree die sets.

DSCF2971_2

14. Assemble the card with all the elements.

As always, I had a fun time creating this card and just so happy that Monika took my card to our mutual friend in Texas, made with love in California.

Thank you again for stopping by today and I hope you all have a wonderful Memorial Day weekend!

hugs, Rita

Supplies by Karen Burniston for Elizabeth Craft Designs:
– (902) House Pivot Card die set
– (781) All Seasons Tree die set

Supplies by Elizabeth Craft Designs:
– (792) Stand Up Helpers die set
– (SKU 0360) Cats in Frame Peel-Off Sticker
– (501) 5″ x 12″ Double Sided Adhesive Sheets
– (639) Warm Diamond Silk Microfine Glitter

Other Supplies:
– DCWV The Glitzy Pastels cardstock
– Momenta cardstock

DSCF2977_2 DSCF2981_2 DSCF2980_2